Last month’s blog focused on the initial process of making buckram mounts for costume, in particular swimwear, that will be on display in the headline exhibition ‘Beauty and the Beach’ opening at the new Beecroft Art Gallery this summer. This next blog will take you through the second phase of making the buckram mounts which involves cutting the dried buckram off the base figure I moulded them on and shaping the mount to the exact outline of the costume it is being made for .
After three layers of buckram has been applied to the base figure and have thoroughly dried, it is time to cut the Buckram cast off. You will find the buckram has dried extremely hard and at first feels as though it will be impossible to cut through and remove from the base beneath, but with some elbow grease and determination it can be done!
To cut through the buckram shell I have been using a Stanley knife with a new blade to ensure it is sharp enough to cut with as little difficulty or snagging as possible. This is much safer than using a blunt knife that requires more effort cutting which can lead to accidents. If you are not comfortable using a knife than ask someone to help with this as it can be tricky. I wear fitted cotton gloves to hold the buckram, which in its raw dried state can be scratchy. This also protects my hands when using the Stanley knife; however, some people might find it easier to hold the knife safely with no gloves on. Do what feels the safest and most comfortable for you…safety warning over!

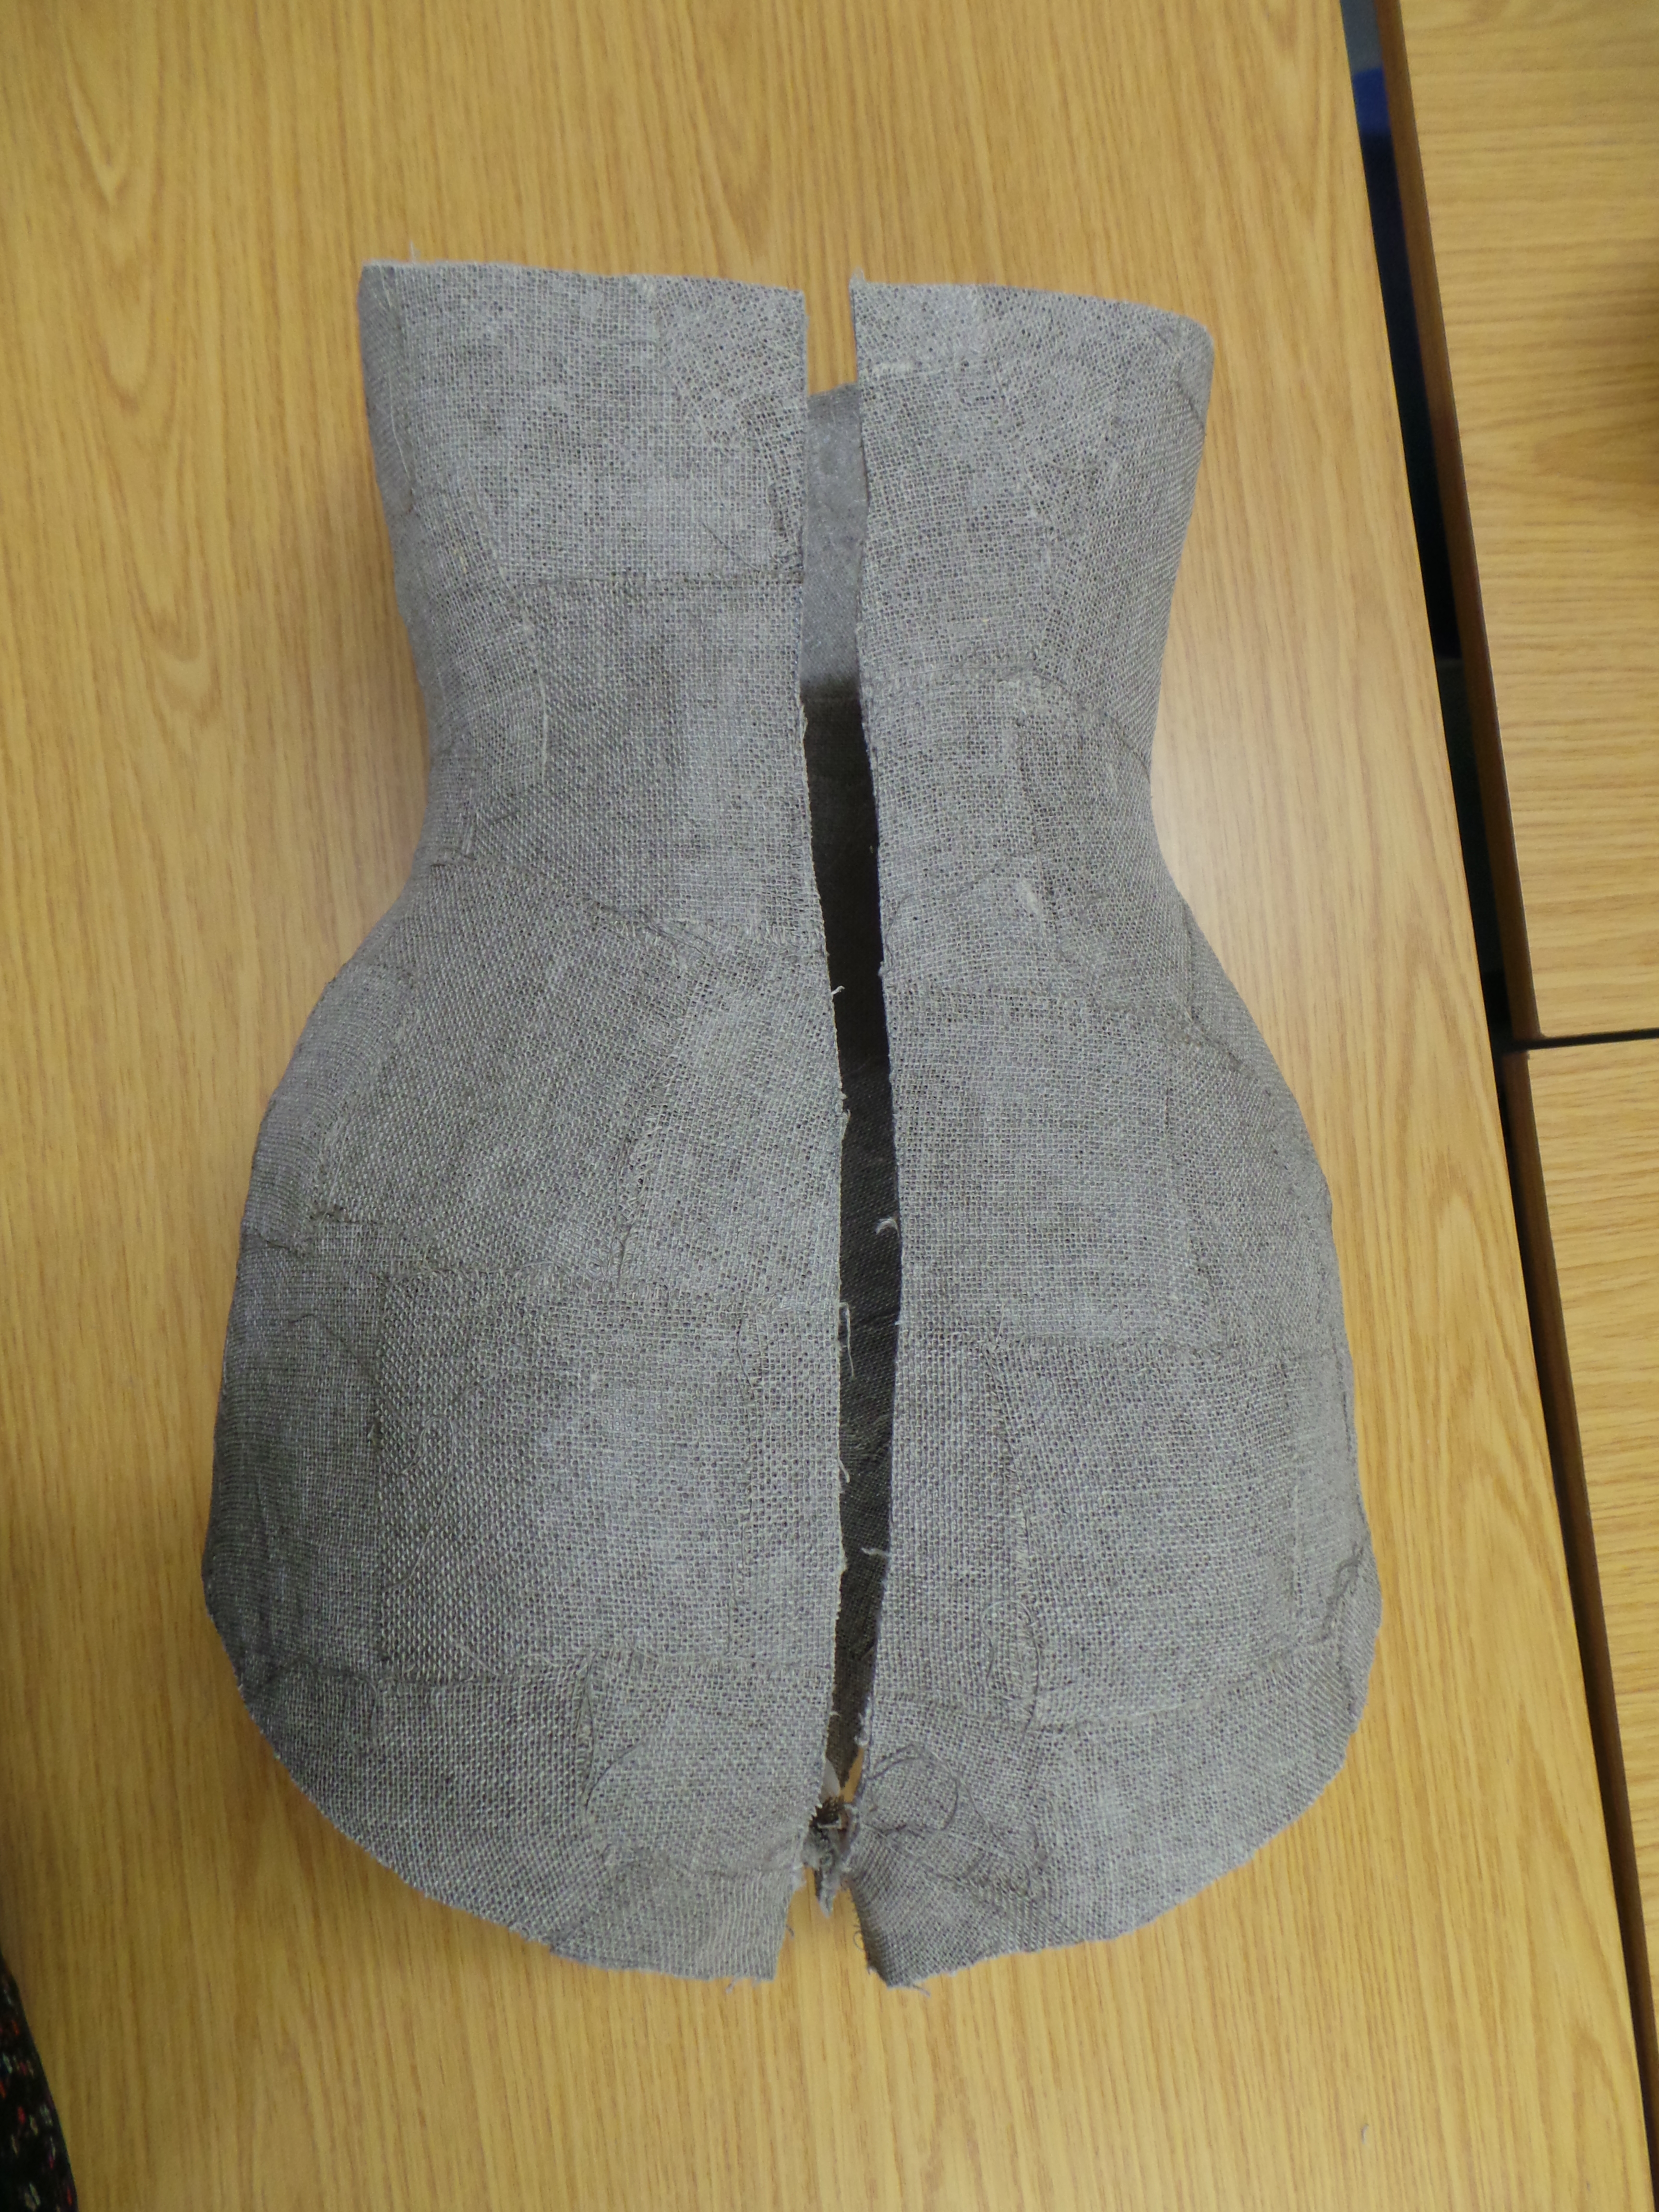
To accommodate the extra width added to the buckram cast through layers of scrim and the additional layer of padding the buckram shell needs before being finished, it is essential to cut a 3 cm strip out of the back of the buckram cast. I mark the strip out with a pencil before I make any cuts to avoid any wonky lines! Cutting out buckram mounts which need a gusset panel is much trickier than a simple mount that will be covered from the hips down with a skirt. This need for a gusset panel has dictated the entire process I have been through as I used a base mannequin that had legs and therefore a crutch to accommodate bathing suits.

For mounts that require a gusset, you must cut the 3cm strip from the neck to crutch down the back of the buckram mount. From here, you can cut down each leg to free it from the base figure using one line rather than a 3 cm strip. Once the buckram is free from the base beneath, it is easier to handle and trim down as you need, this means you can cut down the width of the thigh holes with a pair of tin snips when the buckram is off the base figure.

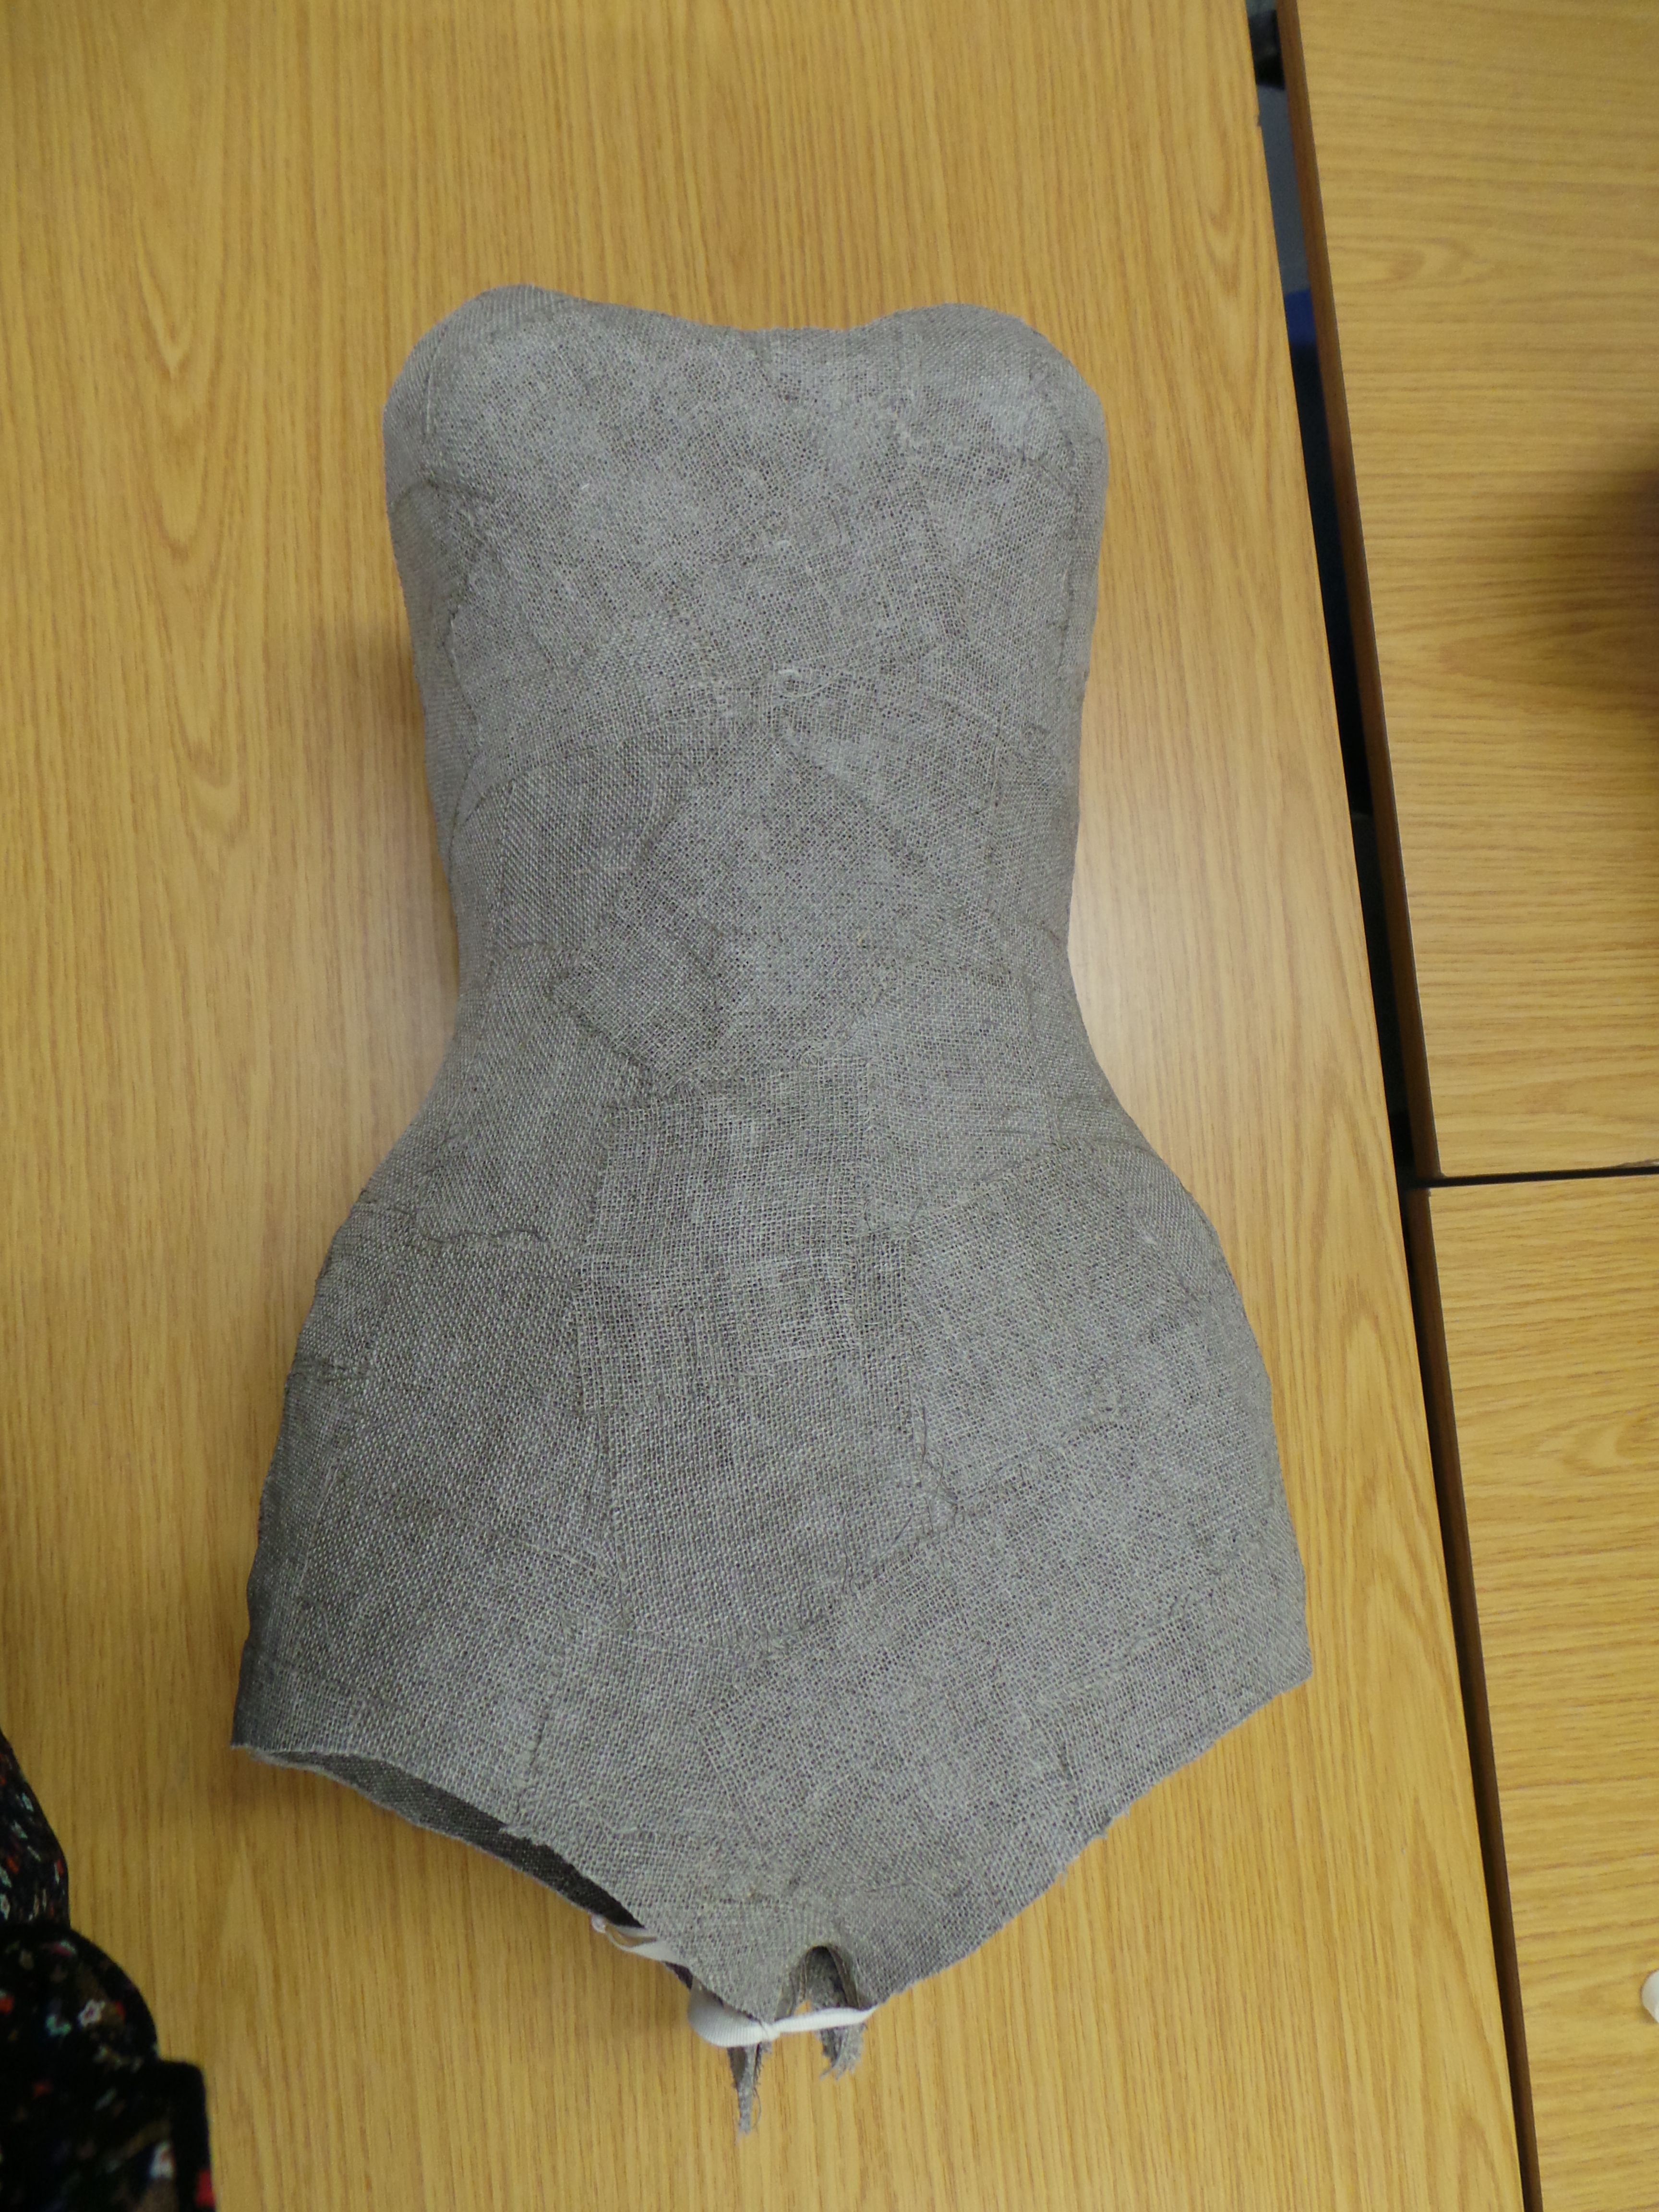
Once the buckram has been cut off the base figure, it is time to mark out the shape of the costume you will be mounting on to it. This part can be difficult and I would suggest having help from a second person who can hold the buckram figure securely! To mark the buckram figure it is necessary to mount the buckram cast with the actual costume. This means you need to tie the gap at the back closed with lengths of cotton tape to ensure you are working with the smaller size you have created by cutting the 3cm strip out at the back.

Once you have tied this gap closed, it is now essential to cover the buckram shell in spider tissue before you mount the costume. The dried buckram is scratchy and will snag the costume so it is very important to cover it with a layer of protection before the costume is anywhere near the buckram… you cannot risk learning the hard way when original costume is involved! You can both dart and sew the spider tissue onto the buckram to create a smooth fitted cover or you can fold and secure with cotton tape. The tissue is very thin and will lay flat under pressure so do not worry too much about how your tissue looks when on the buckram, this is only a temporary measure.
Once you have mounted the costume you can tear the spider tissue into strips that you then fold down over the edges of the costume. This ensures the tissue protects the costume from the pencil marks you will be making around the edges. This is clear in Lara Flecker’s book ‘A Practical Guide to Costume Mounting’ that I highly recommend using.

An illustration from Lara Flecker, 2007, ‘A Practical Guide to Costume Mounting’, Butterworth – Heinemann, Elsevier, V&A, P213’
Once you have accurately marked the buckram up with the lines of the costume edges, then you can remove both the costume and layer of tissue. You will then need to use the Stanley knife once again to cut out the final shape using your markings as a guide. It is important to cut at least 5 mm below your pencil lines to make sure the final layer of padding and covering that will be added later is not visible at the edges of the costume.

This process is time consuming but when you have cut and shaped a full buckram figure, it becomes clear how effective invisible mounting really is!
The final buckram blog will focus on covering and finishing the invisible mounts that will be used in this summer’s costume exhibition ‘Beauty and the Beach’. You can find out more about this beautiful exhibition on the Beauty and the Beach facebook and Twitter pages, so stay tuned for more updates!
